


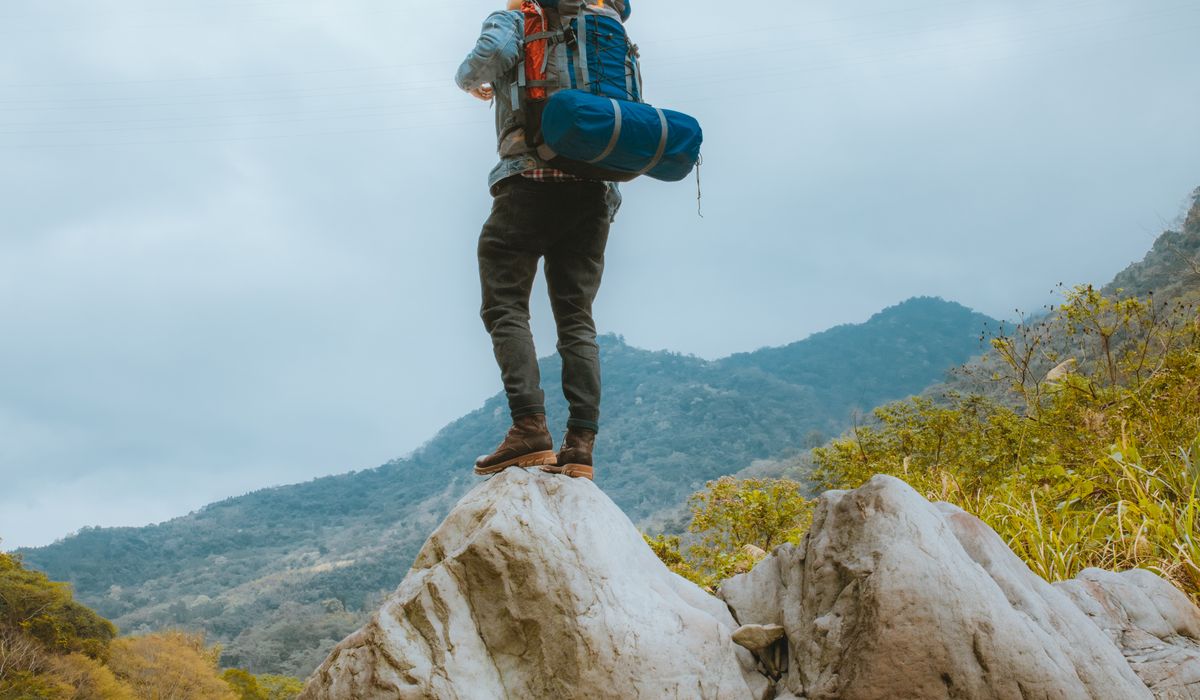
Why the best waterfall shot rarely needs wet boots
Every upland walker knows the pull of a beck in spate. You round a corner on a Lakeland gill path or drop into a Welsh ravine, and there it is: white water pouring over a dark lip, spray drifting through the trees, and a perfectly framed view spoiled only by the fact that a branch is in the way. The obvious fix is to step onto the boulders for a cleaner angle. That is the moment to stop, put the tripod down, and think.
Wet rock in the British uplands is genuinely treacherous. The dark slate and volcanic tuff of Snowdonia and the Lake District, the gritstone edges of the Peak, the limestone of the Dales and the schist of the Highlands all share one property when wet: they offer almost no grip. Green algae and moss make it worse, and it looks dry from a distance. A slip of thirty centimetres onto a boulder is enough to break an ankle, a wrist, or worse, and help in a remote gill is a long time coming.
The good news is that the most compelling waterfall photographs are almost always made from the bank, with a slightly longer lens, from a position where a stumble means a wet knee rather than a rescue. Safety and quality point in the same direction.
Reading the ground before you unclip the tripod
Spend five minutes simply looking before you set anything up. Almost all the risk is visible if you give yourself time to see it.
- Look at where the spray lands. Anything within that zone is likely to be slick, even on a dry day.
- Choose to stand on bedrock, gravel, or an established path. Rounded river boulders are the worst possible platform, especially the polished ones around plunge pools.
- Keep two to three metres back from the lip of any drop. Serious incidents at UK waterfalls happen at the top far more often than at the bottom.
- Treat the margins of the plunge pool as off limits. Water-polished rock plus constant spray equals a skating rink.
- If you genuinely must cross water, do it at a wide, shallow gravel braid, use a pole, unbuckle your rucksack sternum strap, and face upstream. Better still, don't cross at all.
- Keep children and dogs on a short lead anywhere near a bank. Spray hides drops, and a fall that looks modest from above can be six metres of vertical rock.
Once you have identified two or three safe vantage points, you have a plan. That is worth more than any filter.
Tripod craft on awkward ground
A tripod is not just for slow shutter speeds. It also keeps you upright and stops you crouching at the edge of a drop with a heavy bag on your back. Set it up properly, though, or it becomes a liability.
- Press down firmly on each foot before trusting it. A leg resting on moss or a loose stone is worse than no tripod at all.
- Splay the legs wider for stability and avoid raising the centre column if you can. Hang your rucksack from the hook for extra weight.
- Keep the tripod out of the water. Cold water numbs hands fast, and a leg in the current can shift.
- Consider a longer focal length instead of moving closer. A 70–200mm lens from ten or fifteen metres gives lovely compression of cascades and keeps you well back from the edge.
- Use the bank itself as foreground. A few dark rocks or a frond of fern at the frame edge adds depth without any risk.
Choosing a shutter speed that suits the water
This is where the character of the image is decided, and it is entirely a matter of taste once you understand the options.
- Silky and smooth: around 1/4 second to 2 seconds. Ideal for moderate flow and tall, thin falls. Long enough to blur the water, short enough to keep texture in the rock.
- Very long: 4 to 30 seconds with a six or ten stop neutral density filter. Beautiful in low flow, but in spate it can turn the whole fall into a featureless milkshake.
- Frozen: 1/250 to 1/1000 second. Excellent in heavy spate, when individual droplets and jets give a sense of raw power that blurring destroys.
- The middle ground: 1/15 to 1/60 second often looks most like the fall actually felt, with movement in the water and shape retained.
From one tripod position, shoot a bracket across a range of speeds and decide later on the screen at home. Use ISO 100, apertures around f/11 to f/16, and avoid stopping down further than needed, as diffraction softens detail. A polariser is genuinely useful here: it cuts glare from wet rock and deepens the greens. Watch your highlights, because falling water blows out quickly. Check the histogram and keep the brightest tones just off the right-hand edge.
Weather, spray and staying comfortable
Waterfalls change character with the weather, and conditions dictate both safety and timing. After heavy rain, expect spate. Falls are at their most dramatic but also at their most dangerous, and the rock beside them is at its worst. In many upland catchments the water drops fairly quickly, so six to twelve hours after rain often gives you spectacle with a little more margin.
Wind drives spray sideways across the front element. Carry a microfibre cloth and a blower, use a lens hood, and never wipe a gritty lens without blowing it clean first. A rain cover for the rucksack and a dry cloth in a sealed bag will save a shoot. Bright overcast days give the softest light and are usually better than full sun, and deep gorges can be genuinely dark, so pack a small torch.
Finally, remember that standing still for twenty minutes at four degrees is far colder than walking for an hour. Take an extra layer, gloves that let you work the controls, and a flask. In summer, a midge head net in the west is worth its weight. The most beautiful photographs come from patience, and patience comes from being warm and dry.
A simple routine that keeps you coming back
Arrive and stop thirty metres back. Look at the whole fall and identify the safe ground. Choose two or three vantage points and set the tripod up on the firmest one. Shoot a bracket of shutter speeds, check the histogram, and adjust. Change lens rather than location whenever you can. Leave the way you came, and never let the photograph be the reason you take a chance, because the fall will still be there next winter, and so will you.


Leave a reply