


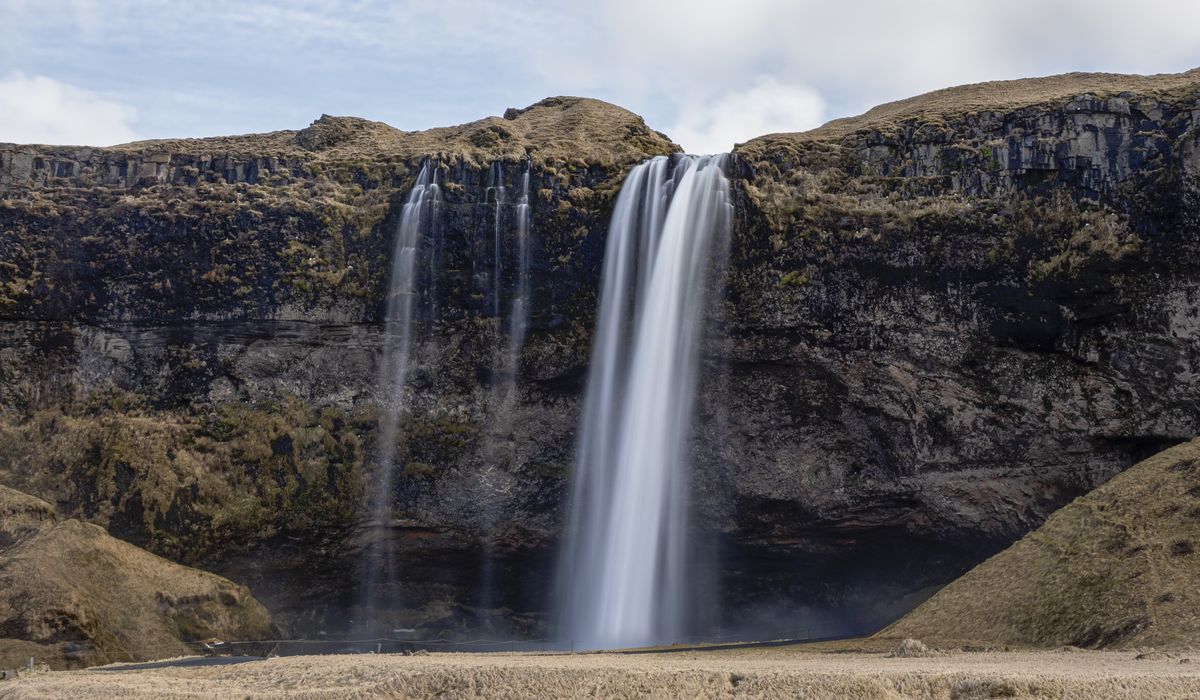
Why Autofocus Struggles with Close Foreground Rocks
Autofocus is a marvel for wildlife and moving subjects, but it can be surprisingly unreliable when you point your lens at a wet slate boulder half a metre from your tripod. The reasons are practical. Autofocus points cover a fixed area of the frame, and at close range that point may be larger than the textured detail you want sharp. Low-contrast subjects — dark moss, smooth granite, rain-slicked gritstone — give the system little to lock onto. Add a polariser or a ten-stop ND filter and the light reaching the AF sensor drops, making hunting more likely. In upland conditions, wind and drizzle make everything worse. Manual focus puts you back in control, and with live view magnification it is more accurate than any autofocus mode for this kind of work.
Switching to Manual Focus and Setting Up
Start by switching the lens to MF. On most cameras this is a physical switch on the barrel; on some mirrorless lenses you may need to dive into a menu. If your camera offers focus peaking, you can enable it as a rough guide, but do not rely on it alone — peaking often shows a band of apparent sharpness that is wider than the true plane of focus, especially when you stop down. Instead, plan to use live view magnification.
Set up your tripod as low as you can comfortably manage. A low angle exaggerates the foreground rock and gives a stronger composition. Turn off image stabilisation, because it can introduce blur when the camera is locked down. Set your aperture to f/11 for full-frame, or f/8 for APS-C and Micro Four Thirds, to balance depth of field against diffraction. Use ISO 100 if the light allows, and attach a remote release or set a two-second timer. Compose your shot, then move to live view.
Using Live View Magnification for Critical Focus
Live view magnification is the single most useful tool for sharp foreground rocks. Activate live view, then use the touchscreen or directional buttons to move the magnified area over the nearest important detail — the edge of a boulder, a crack in the rock, a patch of lichen. Zoom to 5x or 10x. Now turn the focus ring slowly until that detail is razor sharp. Do not rush; small movements make a big difference. If your lens uses focus-by-wire, the response may feel sensitive, so use a light touch.
Once the foreground is sharp, check the background. Move the magnification box to a distant crag, a tree line, or the horizon. If it is soft, you have three choices: focus slightly further back to compromise, stop down to f/13 or f/14, or accept that you need a different technique such as focus stacking. For most upland scenes, a small compromise plus a sensible aperture will give you front-to-back sharpness that looks natural in print.
Hyperfocal Distance: The Maths Made Practical
Hyperfocal distance is the focus distance that keeps everything from half that distance to infinity acceptably sharp. It sounds technical, but it is easy to use in the field. For a 16mm lens on full-frame at f/11, the hyperfocal distance is roughly 0.8 metres. Focus there and everything from about 0.4 metres to infinity will be sharp — ideal if your foreground rock is half a metre away. For a 24mm lens at f/11, the hyperfocal distance is about 1.8 metres; for 35mm at f/11, it is around 3.7 metres. On APS-C, multiply those figures by roughly 1.5.
You can memorise a few key numbers for your most-used lenses, or use a hyperfocal distance app on your phone. Many modern lenses lack a distance scale, so the practical method is to focus on a point at the hyperfocal distance using live view magnification, then check both the nearest rock and the distant horizon. If the rock is closer than half the hyperfocal distance, it will not be sharp; in that case, move the tripod back, focus closer, or use a smaller aperture and accept a slightly softer background.
A Field Routine for Upland Scenes
When you are out on the fells, a repeatable routine saves time and cold fingers. Follow these steps:
- Set up the tripod low and compose your shot.
- Set aperture to f/11 (full-frame) or f/8 (smaller sensors), ISO 100.
- Switch the lens to manual focus and turn off image stabilisation.
- Activate live view and magnify on the nearest rock detail. Focus carefully.
- Magnify on a distant feature. If it is soft, adjust focus slightly or stop down to f/13.
- Use a remote release or self-timer. Check the histogram. Bracket if the light is tricky.
- Review the shot at 100% on the LCD before walking on.
Wind and rain are part of upland photography. Shield the camera with your body, keep a microfibre cloth handy, and use a lens hood. Live view drains batteries quickly, so carry a spare. In cold weather, gloves with a grippy palm let you turn the focus ring without removing them.
Troubleshooting Common Problems
Even with a good routine, things go wrong. Here are the usual culprits and how to fix them:
- Forgetting to switch back to autofocus — if you later handhold the camera, you may miss a shot. Check the switch before you move on.
- Knocking the focus ring — attaching a filter or adjusting the tripod can shift focus. Re-check with magnification after any adjustment.
- Too small an aperture — f/16 or f/22 causes diffraction, softening the whole image. f/11 is usually the sweet spot for full-frame; f/8 for smaller sensors.
- Image stabilisation left on — this can cause blur on a tripod. Turn it off.
- No live view magnification — if your camera lacks it, use focus peaking as a guide, then take a test shot and zoom in on the playback.
- Water on the front element — rain drops create soft patches. Keep the lens hood on and wipe gently with a microfibre cloth.
Manual focus for foreground rocks is a skill that rewards patience. Practise on a local beach or moorland edge before your next big upland walk. Once you trust live view magnification and understand hyperfocal distance, you will bring home images with the kind of front-to-back sharpness that makes a landscape feel immersive.


Leave a reply