


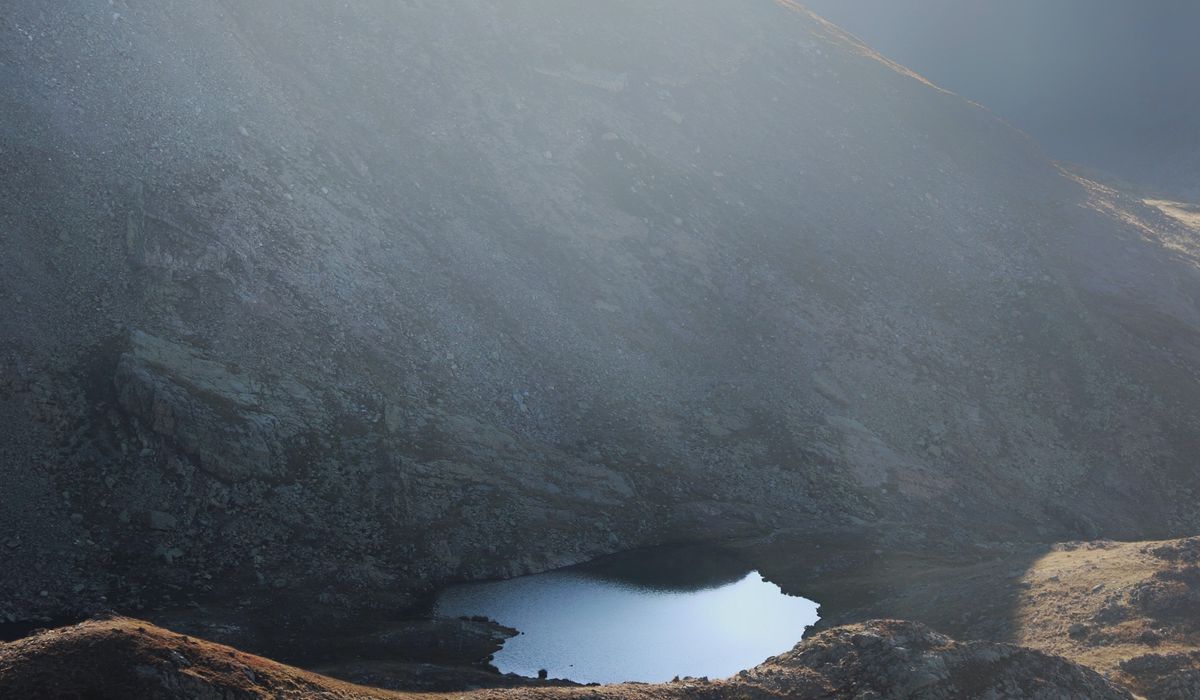
Why mist reads as grey on the back of the camera
Stand on a gritstone edge above a filled-in valley at first light and the scene in front of you feels almost theatrical. Ten minutes later you look at the file and wonder where the atmosphere went. This is normal, and it is worth understanding before you touch a single slider.
Mist is thousands of tiny water droplets suspended in air, each one scattering light in every direction. The practical result is that your blacks get lifted, your highlights get softened, and the whole histogram collapses into a narrow band of midtones. The drama you saw was partly constructed by your eyes and brain, which are brilliant at exaggerating local contrast. The sensor simply records a low-contrast scene. Add the cool, flat white balance that most cameras choose on an overcast morning and you get a grey, slightly lifeless raw file.
None of this means the photograph is broken. It means the file is unprocessed. The goal is to expand that compressed tonal range gently, not to invent contrast that was never there.
Fix the foundations before you get creative
Misty upland scenes punish sloppy basics more than any other genre. Get these right first and the rest becomes far easier.
- White balance: misty mornings genuinely are cool and blue, so do not warm them into a false golden glow. Instead, sample a neutral with the eyedropper — wet limestone, a grey slate wall, a neutral rock face — and then nudge temperature slightly warmer or cooler to taste. A shift of 200–300K is usually plenty.
- Exposure: expose to the right so the brightest mist holds detail. Check the brightest patch of cloud or mist for clipping, then bring the exposure back down in editing rather than underexposing in the field.
- Housekeeping: apply lens corrections and remove dust spots now. Sensor spots show up brutally against smooth, pale mist.
- Sharpening: keep capture sharpening low at this stage. Heavy sharpening on low-contrast mist creates halos around distant ridges.
Gentle contrast: the backbone of a misty edit
The contrast slider is a blunt instrument on a scene like this. It tends to crush the very midtones that carry the atmosphere. Reach for the tone curve instead.
Place two or three control points: pull the deepest shadows down slightly to restore weight in foreground rock, ease the lower midtones, and lift the upper midtones just a touch so distant ridges separate from the sky. A subtle S-curve adds depth without turning the mist into fog soup. Once that is in place, add small amounts of texture (around +8 to +15) and clarity (similar) to bring out the grain of wet stone, heather stems and grass tussocks.
Local contrast tools such as a mask on the darkest quarter tones can add sparkle to rocky detail while leaving the pale mist untouched. That separation — crisp foreground, soft distance — is what makes the image read as three-dimensional.
Selective dehaze: where it earns its keep
The dehaze slider is the single most dangerous tool in a misty landscape edit. Applied globally it strips out exactly what you climbed a hill for: the veil of atmosphere that separates near from far.
Use it locally instead. Mask the nearer elements — a drystone wall, a foreground boulder, the mid-distance shoulder of the fell — and apply modest dehaze of around 10 to 25. Leave the distant ridges and the sky completely alone. The mist between you and the far horizon is the subject, not a defect.
If you use luminance masks, apply more dehaze to the darker areas and less to the paler ones, because pale tones are where mist sits. And if a linear gradient runs across the sky, check it is not making the cloud band look gritty and overworked.
Keeping colour believable
Global saturation is the fastest way to make an upland scene look plastic. Start with vibrance instead, somewhere around +5 to +12, then work in the HSL panel with intent.
- Greens: resist the urge to push them. Atmospheric haze desaturates foliage naturally, so acid greens will look wrong. Consider dropping green saturation slightly and darkening greens a little for depth.
- Blue: mist carries a lot of blue. Raising blue saturation makes it look icy and artificial. Reduce blue saturation, lift blue luminance, and the mist will glow instead of grey out.
- Warm accents: heather, bracken and late light respond well to small increases in orange and purple saturation. Small is the operative word — a few points, not twenty.
- Split toning: a hint of warmth in the highlights and a very slight coolness in the shadows echoes how real light behaves on a misty morning.
A practical order of work
Try this sequence the next time you sit down with a damp morning's worth of files.
- Correct white balance, exposure and lens profile.
- Clean up spots and any distracting twigs at the frame edge.
- Build a gentle tone curve for overall shape.
- Add small texture and clarity globally.
- Mask the foreground and mid-distance and apply light dehaze there only.
- Use vibrance plus targeted HSL adjustments for colour.
- Add a touch of split toning, then finish with modest output sharpening.
Then walk away for half an hour. Come back and check the image at 100% and at full size, ideally on a second screen if you have one. Misty landscapes are very sensitive to over-editing, and the difference between evocative and muddy is often five points on a slider. Restraint, applied in the right places, is what keeps the weather in the photograph and the colour believable.


Leave a reply