


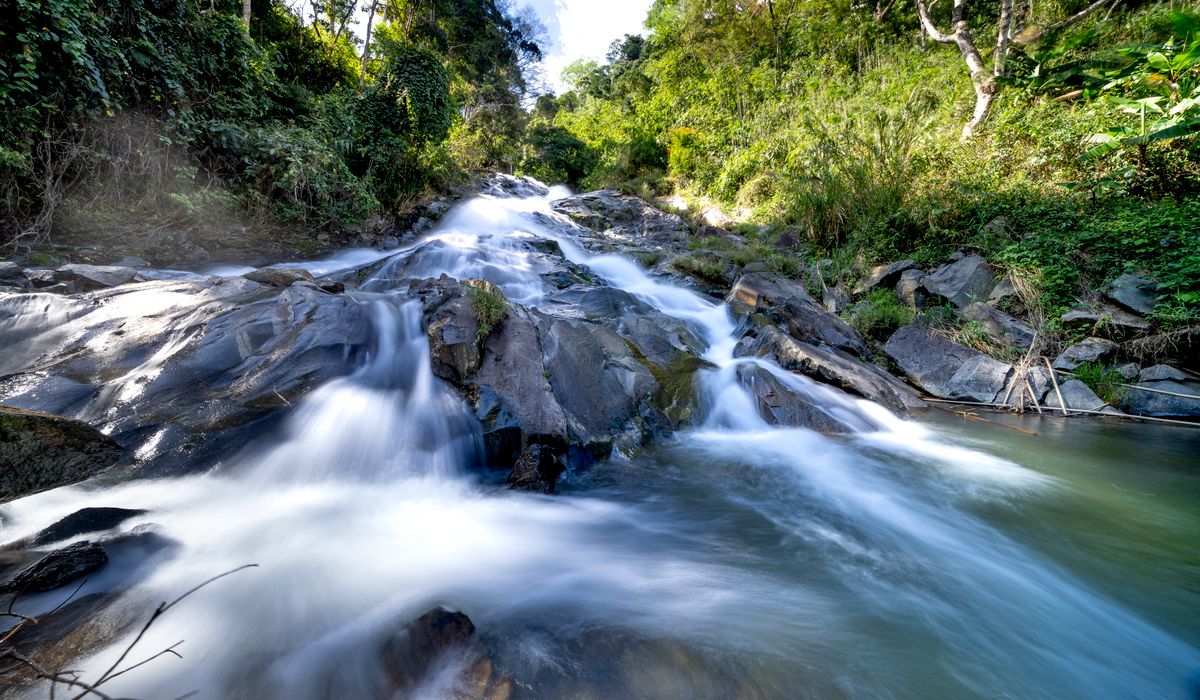
A print that looked magnificent on a screen can fall strangely flat on a landing wall. Nothing about the photograph has changed; the room around it has. A little thought about wall colour, frame proportions, glazing and hanging height will do far more for your upland landscapes than any further fiddling with contrast sliders.
Start With the Wall, Not the Frame
Before ordering anything, tape a test print — even a plain A4 sheet — against the wall where you intend to hang the finished piece. Do it at the times of day you will actually see it. A view of a mist-filled Lakeland valley at dawn reads quite differently under a warm evening lamp than it does in cool morning light.
Warm off-whites, soft greys and muted greens tend to flatter the cool light of British uplands. Strong colours can work, but a vivid terracotta or deep navy wall competes with the picture rather than supporting it. The test is simple: does your eye go to the photograph, or to the paint beside it?
Also note the light itself. A north-facing wall gives even, cool illumination that suits most landscape work. A wall in direct sun will bleach colour over time and produce hard shadows behind the frame. If the only available wall faces a window, plan for reflections before you order the glazing.
Frame Width and Mount Proportions
Frame width should scale with the print. A thin, apologetic moulding on a large panorama looks mean, while a heavy 50mm frame around a small print overwhelms it. As a rough guide:
- Up to 30cm wide: 15–20mm moulding
- 30–60cm wide: 20–30mm moulding
- Over 60cm wide: 30–45mm moulding
The mount matters just as much. A border of roughly one fifth to one quarter of the image width gives a print room to breathe — so a 40cm wide photograph wants an 8–10cm mount. A generous mount also keeps the glazing off the surface of the print and stops the frame edge crowding the composition. Where you are hanging several pieces together, keeping the moulding and mount depth consistent will calm the whole wall at a stroke.
Glazing, Reflections and the Room
Standard glass reflects almost everything. Hang a framed print opposite a window and you have effectively hung a mirror with a photograph somewhere behind it. Anti-reflective and museum-grade glazing reduce this considerably, softening reflections rather than eliminating them, and they are worth considering for any large piece. Acrylic glazing is lighter and safer on a heavy frame, though it scratches more readily.
Where you place the frame often matters more than what you put in it. Avoid hanging directly opposite a window, a lamp or a television. Where reflections persist, tilting the top of the frame slightly forward — a few millimetres on the hook — shifts the reflected image downwards and out of your eyeline. Glossy papers reflect more than matt or textured ones; for a big upland panorama, a subtle matt finish behind plain glass is usually the calmer choice.
Hanging Height and Level Horizons
Aim for the centre of the image at around 1450–1550mm from the floor, which is roughly eye level for most adults. In a room where you mostly sit, hang a little lower. Above a sofa or sideboard, leave 150–250mm between the furniture and the bottom edge of the frame.
A landscape photograph almost always contains a horizon, and an unlevel horizon is the first thing a viewer notices. A ridgeline, a loch shore or a drystone wall running to a summit will betray even a single degree of tilt. Use a spirit level on the top edge of the frame itself, not on the cord, and check it again a week after hanging — picture cord stretches, and so does the timber in a centrally heated room. For anything over 60cm wide, use two hooks rather than one; it is far easier to level and it spreads the load.
Leave Breathing Space
Give each print room. In a group, 50–75mm between frames is a sensible minimum, and more where the mouldings are wide. Keep at least 150mm clear of corners and 300mm below the ceiling — a frame jammed into a corner feels anxious rather than composed.
One generous print on a quiet wall will nearly always beat six small ones fighting for attention. Match the subject to the space as well: a wide, open panorama of the Cairngorms wants a wall with room around it, while a close study of lichen on gritstone can sit happily in a smaller, darker corner. Aligning the tops or the centres of a group, and working in odd numbers, keeps a collection feeling deliberate.
Living With the Print
Framed photographs on a sunlit wall will fade, slowly and unevenly. Rotating your prints between rooms every year or two spreads that wear and stops you walking past them without seeing them. Check the levels each time you dust, and tighten the hanging fittings when you do.
Above all, keep the connection to the day itself. A photograph of a cloud inversion over the Howgills, or a late light on a Snowdonia ridge, is a reminder of the walk as much as a picture of the view. Hung simply, level and unhurried, it will keep giving that back to you every time you come in from the rain.


Leave a reply