


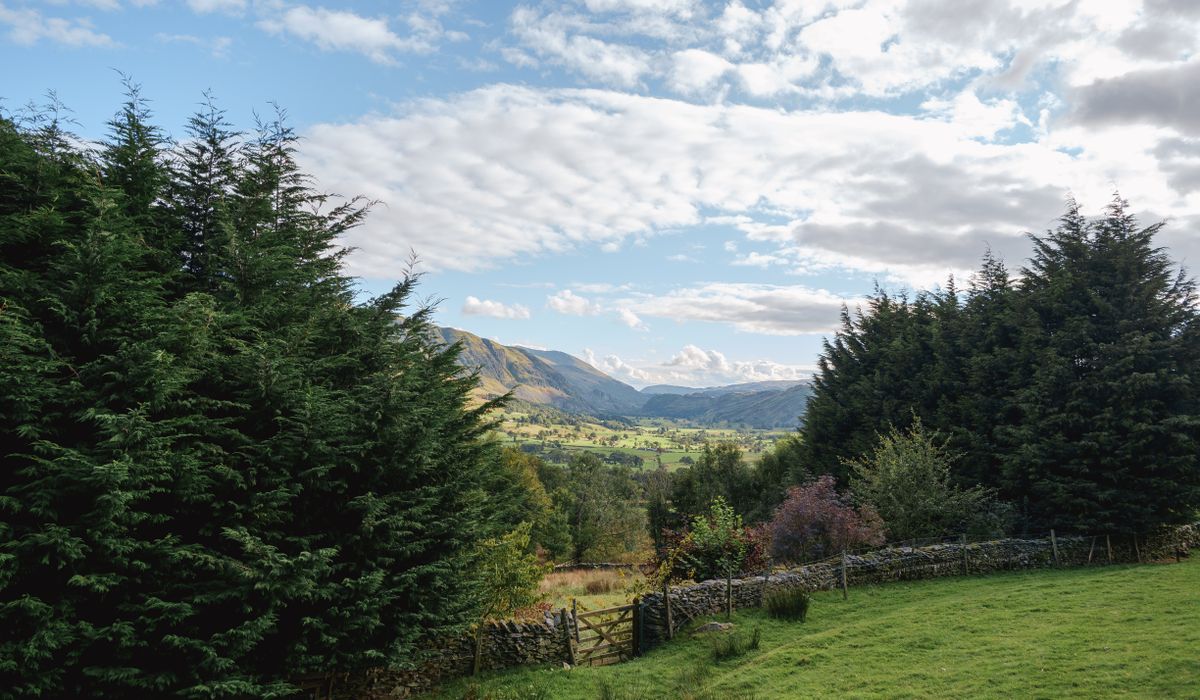
Why a Modest Fell Beats a Big One at Dawn
There is a persistent myth in British landscape photography that you need altitude. You do not. What you need is an unobstructed eastern horizon, a foreground with some shape to it, and enough time to get there before the sky starts doing anything interesting. A 300 to 500 metre fell with a clean easterly outlook will outshoot a 1,000 metre summit on nine mornings out of ten, because the higher you go, the more likely you are to be inside the cloud rather than above it.
Small fells also let you move quickly. You can recce one on a Sunday afternoon, learn its paths, and be back a fortnight later with a plan. That familiarity is worth more than any extra height on the skyline.
Choosing the Right Fell
Work backwards from the light. You want to be facing roughly east or north-east, looking over lower ground, with ridges receding into the distance. Cloud inversions fill valleys, not plateaus, so a fell that stands above a broad vale gives you the best chance of that sea of cloud.
- Eastern aspect: check the map. A summit with a steep western face and a long gentle eastern slope usually gives you a clear view towards first light and a reasonable path up.
- Foreground interest: crags, a tarn, scattered boulders, a lone hawthorn or a trig point. Something to anchor the bottom of the frame and give the light a shape to fall across.
- Safe ground underfoot: avoid summits where the approach in darkness crosses eroded peat hags, loose scree or unfenced edges. In the dark, a faint path across a bog is a navigation problem, not a photographic one.
- Short approach: forty to sixty minutes of walking is ideal. That lets you leave the car in the dark and still be set up well before the horizon warms.
Fells like Latrigg, Loughrigg, Roseberry Topping, Win Hill, Cat Bells and the Cheviot foothills all do this job admirably. So do dozens of unnamed tops in the Howgills, the Peak District gritstone edges and the Southern Uplands.
Timing: The Hour Nobody Talks About
Sunrise is not the event. It is the end of the event. The best colour usually arrives in the twenty to forty minutes before the sun clears the horizon, and the deep blue that precedes it is worth shooting in its own right.
So plan backwards. Check the sunrise time the night before, add the walk-in time, then add a generous forty-five minutes for setting up, catching your breath, wiping mist off the front element and watching how the light is developing. If sunrise is at 05:10 and the walk takes fifty minutes, you want to be leaving the car park at about 03:45.
Also check the weather with a mountain-specific forecast rather than a town one, and look at wind speed rather than just temperature. A 15 mph wind at valley level can be 30 mph on a modest summit, and that changes what you can physically do with a tripod.
The Pre-Dawn Ascent
Walk in on a route you already know, or at least one you have studied carefully. Headtorches flatten terrain, and what looks like a path on a map can be a line of tussocks in the dark.
- A headtorch with a red or low-output setting saves your night vision and is kinder to anyone you meet.
- Carry a spare light and spare batteries. Cold drains cells faster than you expect.
- Wear more layers than the forecast suggests. You will stop moving at the summit and stand still for an hour, and that is when the cold finds you.
- Take a sit mat or a folded piece of foam. Kneeling on wet rock for twenty minutes is miserable and it makes your hands shake.
- Tell someone your route and expected return time.
Setting Up Safely on the Summit
Arrive, then slow down. Find your composition in the half-light and commit to it, because you will not be repositioning once the colour starts. Keep your tripod low, spread the legs wide, and hang your rucksack from the centre column if there is any wind at all. Weight beats stiffness every time.
Stand back from the edge and away from any drop you have not seen properly in daylight. Trip over a tripod on a summit in the dark and you will not just lose a photograph. Wear the camera strap around your neck while setting up, keep the bag zipped, and keep a microfibre cloth in a pocket rather than in the pack — the lens will mist when you move from walking warmth to standing still.
If you are using a graduated filter, be ready for the light to outrun it. Bracket exposures instead. Shoot at a moderate aperture, around f/8 to f/11, keep the ISO as low as you can, and check the histogram rather than the back-of-camera preview. Meter for the brightest part of the sky that you want to hold detail in and let the foreground fall dark if need be; you can lift that later.
Try a long lens as well as a wide one. Modest fells often give you layered ridges fading into haze, and compressing them into stacked bands of blue and gold is one of the great British landscape photographs.
The Walk Down, and the Point of It
Stay a little past the peak of the colour. The light after the sun clears the horizon is often softer and warmer than the drama of the moment itself, and most photographers will already be packing up. Turn around, too — the western sky and the valleys behind you may be doing something better than the sunrise you came for.
Walk out in daylight, or at least in improving light, and take a moment to note where the path actually ran. That is your recce for the next visit. A small fell, learned properly across a few mornings, will give you more good photographs than a once-a-year trip to a big summit ever will.


Leave a reply