


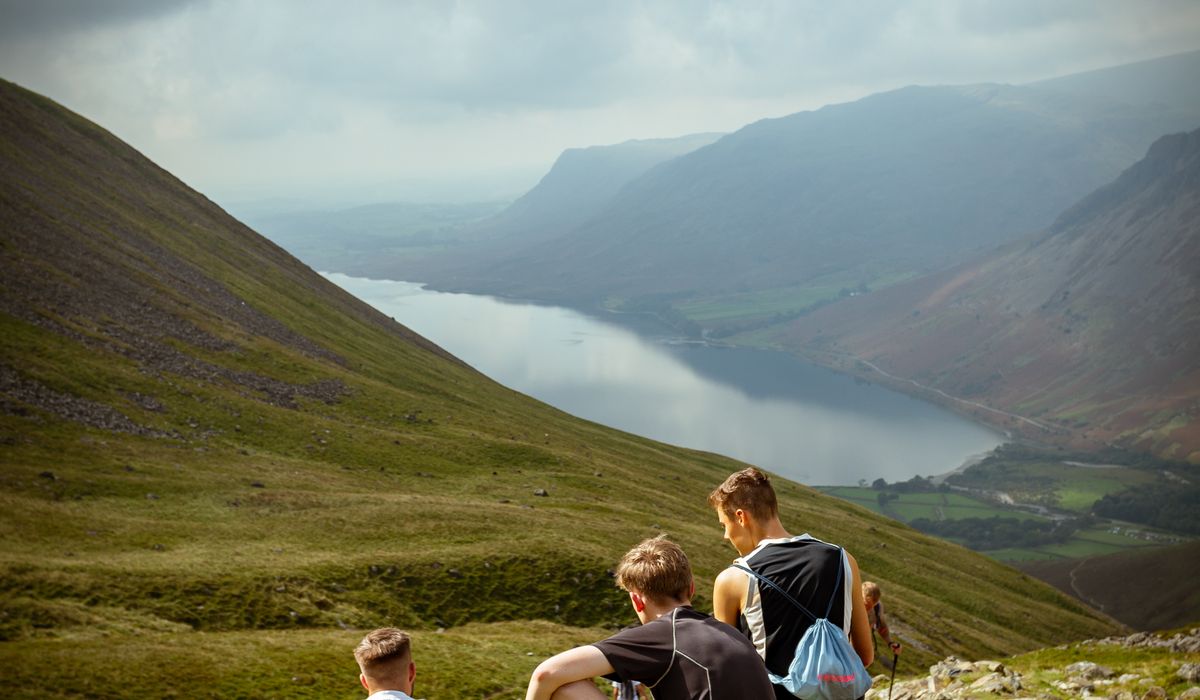
What a Polariser Really Does
A circular polarising filter is a rotating glass element that screens out light vibrating in one particular plane. In the uplands that translates into two very useful things: it removes a large portion of the glare bouncing off wet rock, damp moss, slate and leaves, and it deepens the scattered blue light of the sky. It is not a magic wand, but on a blustery day above a Lakeland tarn or beside a peat-stained stream in the Peak District, it is often the difference between a flat record shot and something with depth.
Budget for the cost. A polariser eats roughly one and a half to two stops of light, so you will either open the aperture, raise the ISO or accept a longer shutter speed. On a grey day that can push you towards softness, so keep an eye on your shutter speed if you are hand-holding. On a tripod it hardly matters.
Setting the Angle Before You Shoot
The effect depends entirely on where the sun sits relative to your lens. Maximum polarisation happens when you are shooting roughly 90 degrees away from the sun — in other words, with the light coming across your shoulder rather than from behind or straight ahead. Point a finger at the sun, swing your arm around, and wherever your thumb points is your best working direction.
- Foliage: strongest with side light, where leaves throw back a sheen you want to cut.
- Wet rock: side light again, because that is where the glare lives.
- Sky: deepest blue appears in the band roughly 90 degrees from the sun, weakest near the horizon directly opposite.
If the sun is directly behind you or directly in front, the polariser will do very little except cost you light. Save yourself the bother and take it off.
Wet Rocks and Running Water
This is where the filter earns its keep. Wet gritstone, basalt, slate and granite reflect a broad sheet of white light that flattens everything it touches. Rotate the polariser slowly and watch the stone change character: the sheen drops away, the true colour of the rock emerges, and any lichen, moss or mineral banding suddenly reads clearly. On shallow calcareous streams you can sometimes polarise enough to see straight through the surface to the gravel and stones beneath.
Be careful not to overdo it. Take the glare away completely and wet rock can turn dull, chalky and lifeless. The sweet spot usually sits a fraction before the reflections vanish entirely — enough to reveal texture, not so much that the scene stops looking wet. For waterfalls, a polariser also gives you more control over how much of the moving water records as bright highlights, which helps with slower shutter speeds.
Foliage: Deeper Greens Without the Mud
Leaves are waxy and highly reflective. A polariser strips that surface sheen and reveals richer, denser greens, with better separation between oak, birch, rowan and the bracken turning bronze beneath them. In Atlantic oak woodland or a beech hanger in the Chilterns, the difference can be striking.
The risk is going too far. Full polarisation in shade will crush your shadows to black and leave the whole frame looking painted rather than photographed. Rotate in small increments, pause, and compare. A gentle quarter turn is often all you need; anything more and the greens start to look artificial.
Skies, Haze and the Wide-Angle Trap
Darkening a pale sky is the reason most people buy a polariser in the first place, and in the hills it also cuts atmospheric haze, letting distant ridges come through with more clarity. But the effect is angle-dependent, and on a wide lens that becomes a problem. At 16mm you can easily capture a span of sky where one corner is almost black and another is barely changed — the infamous uneven sky. Options are to shoot longer, to place the darker band deliberately where it helps the composition, or to reach for a graduated filter instead.
Altitude makes this worse. Up high, the sky is already deeply saturated, and a full turn of the filter can push it towards navy. Dial it back.
A Slow, Careful Workflow
The polariser rewards patience more than any other filter. Before mounting it, hold it to your eye and rotate it to preview the effect. Once it is on the lens, work in this order:
- Compose and focus first, then rotate the filter in small steps.
- Check the whole frame, not just the centre — corners are where uneven polarisation shows up.
- Watch your histogram; the two-stop loss often needs a nudge of exposure compensation.
- Shoot one frame with and one without, so you have a choice back home.
- Keep a microfibre cloth handy. Rain on a filter ruins more upland shots than bad timing does.
Get into that rhythm and the polariser stops being a gadget you sometimes remember and becomes a natural part of reading the light.


Leave a reply