


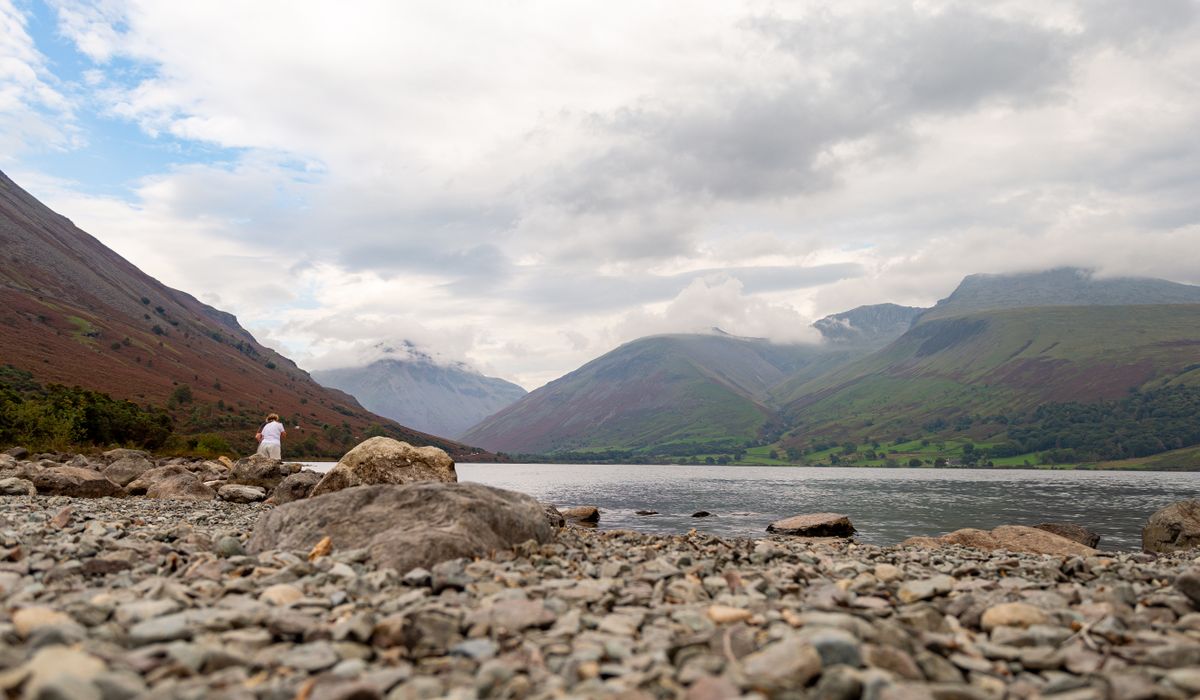
The Weather Turns Faster Than You Think
Stand on a Lakeland fell or a Cairngorms plateau and the forecast becomes a rough suggestion rather than a promise. A shower can build two valleys away and arrive overhead in the time it takes you to swap a filter, driven sideways by wind that has crossed half the country before it reaches your shoulder. On the high ground of Snowdonia, the Pennines or the Scottish Highlands, the useful skill is not predicting rain but noticing it early enough to act.
Watch the horizon rather than the sky directly above you. A soft, grey band losing its edges means rain within twenty minutes. So does a sudden drop in temperature on your face, a darkening of the grass in the next valley, or the sound of wind arriving before the wind itself. If you are on a summit ridge with no shelter and a shower is closing in, the correct move is to cover up early, not to grab three more frames and hope. Getting the camera under cover takes seconds when you are calm; it takes minutes when you are cold, wet and fumbling.
Three Pieces of Kit That Do the Real Work
You do not need an elaborate waterproofing system. You need three inexpensive things that live in your rucksack permanently and never get left behind because they might be needed.
- A rain cover sized for your body-and-lens combination, elasticated, so it goes on over the camera in a few seconds without removing the strap. If it takes thirty seconds to fit, you will not fit it. Store it in the top pocket, not at the bottom of the pack.
- A roll-top dry bag, fifteen to twenty litres, inside your rucksack. A rucksack's own waterproof fabric protects against drizzle, not against a torrent running down a hillside into a half-open zip. Keep the camera body, spare battery, memory cards and filters inside it, and the dry bag stays trustworthy all day.
- Microfibre cloths — three of them, kept in a small zip pouch. One for lenses, one for the camera body, one for filters and your hands. They become soaked, gritty and useless quickly, which is exactly why you carry three.
Two cheap additions earn their weight in the hills. A lens hood fitted permanently cuts down the water landing on the front element and shades the glass. A couple of silica gel sachets in the dry bag soak up the damp that builds up inside a rucksack over a long day.
A Routine That Holds Up On the Hill
Habits matter more than equipment. Never set the camera down on wet grass or a damp rock — use the rucksack lid, a folded jacket or your boot. Between frames, tuck the camera inside your jacket rather than letting it hang; a shortened neck strap keeps it from swinging and collecting splash. Change lenses inside your jacket, under your hood, or not at all. And keep your filter pouch zipped, because an open pouch fills with water within minutes on an exposed ridge.
If rain is heavy and sustained, stop photographing and walk. No image is worth a wet sensor, and the hills will still be there next weekend.
Wiping a Lens Carefully, Not Repeatedly
Water on the front element is a minor problem. Grit ground into the coating is not. Blot rather than scrub: touch the cloth to the glass and lift, working from the centre outwards, using a clean section of the cloth for each pass. Turn the cloth and repeat. Never use a sleeve, a tissue or a shirt tail, and resist breathing on the lens in cold weather — that just adds condensation you will have to clear.
A screw-in filter is a sacrificial surface. Rain, sea spray and blown grit all land on the filter first, and a scratched filter costs a fraction of a scratched front element. Wipe the filter roughly if you must, and treat the lens behind it gently.
Condensation Is the Quieter Problem
More cameras are ruined by condensation than by rain. Bringing a cold camera into a warm car, café or tent causes moisture to condense on every cold surface, including the sensor, the viewfinder and the contacts. The fix is patience: seal the camera in its dry bag before you go inside and let it reach room temperature gradually, which takes thirty to sixty minutes. A slow acclimatisation is boring but harmless.
The same principle applies outdoors. Before you change a lens, check both elements for misting. If either is fogged, wait. Changing a lens on a damp, cold body pulls moisture straight onto the sensor, and a sensor with condensation is a much longer job than a missed frame. If you must change lenses in the field, do it inside your jacket, quickly, with the camera switched off and the body facing downwards.
Drying Out and Checking Kit Afterwards
Back home or at the car, empty everything. Remove the battery and memory cards, open every flap and port cover, extend the zoom barrel and wipe the joints dry. Let the kit air-dry at room temperature — never on a radiator and never with a hairdryer, which pushes moisture deeper into the assembly. Turn the dry bag inside out, recharge or replace the silica gel sachets, and check the seals and rubber gaskets for grit and perishing.
Then think about what got wet and why. A wet camera usually means a routine failed somewhere, not that the weather was unusually cruel. Fix the routine and the next shower becomes a nuisance rather than an expensive lesson.


Leave a reply